
- High-Performance Doors
-
- Applications
-
-
-
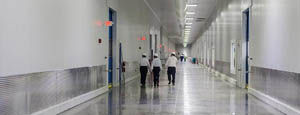
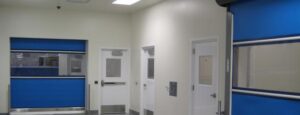
- Clean Room
Stainless steel or composite materials help maintain clean rooms.
-
-
- Coolers
Quick opening speeds & tight seals for temperature control.
-
-
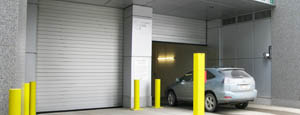
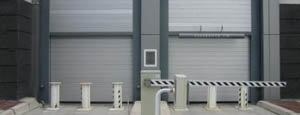
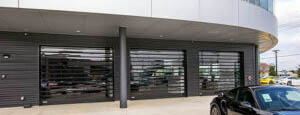
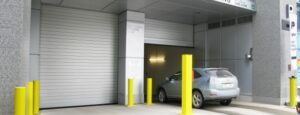
- Parking
Improve security & traffic flow and enhance architectural style.
-
-
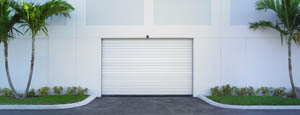
- Hurricane Zone
Withstand winds up to 175 mph and comply with the Florida Building Code.
-
-
-
-
- USDA / FDA / cGMP
Increase productivity & address stringent USDA, FDA & cGMP requirements.
-
-
- Freezers
High-speed & perimeter seals minimize the air exchange between areas.
-
-
- Security
High speed & durability ensure secure access.
-
-
- Ventilation
Perforated or screen door panels allow improved air circulation.
-
-
-
-
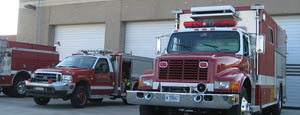
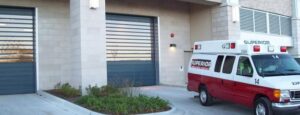
- Fire Station Emergency Response
When time is of the essence, high speed and reliability are crucial.
-
-
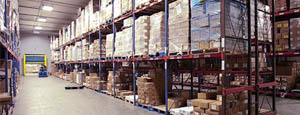
- Warehousing
Fast cycle times and secure seals keep environments separated.
-
-
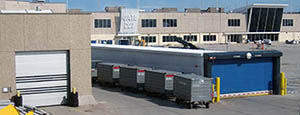
- Loading Dock
Rugged design & secure seal for oversized openings.
-
-
- Large Openings
Break-away functionality with rugged design seals oversized openings.
-
-
-
-
- Heavy Equipment
Withstands challenges of heavy equipment and fleet truck/car wash environments.
-
-
- Self-Storage
Fast opening speeds and reliable, durable construction keep facilities secure and protected.
-
-
- Industries
-
-
-
- Automotive Dealerships
Reduce energy costs, increase productivity and comfort and enhance customer perception.
-
-
- Cold Storage & Processing
Increase productivity and operational efficiency while reducing energy and maintenance costs.
-
-
- Parking
We offer solutions for Apartment / Condo & Loft, Standalone Parking Facilities and Office Buildings
-
-
-
-
- Food & Beverage
Doors specifically engineered for USDA/FDA and cGMP environments, and assured compliance for uncompromising performance.
-
-
- Mfg/Dist/Warehousing
A complete product line allows facilities to increase efficiency and safety and reduce maintenance and energy costs.
-
-
- Government
Ensure effective security and environmental controls are maintained for critical government operations.
-
-
-
-
- Transit
Keep operations running smoothly and efficient while reducing energy and maintenance costs.
-
-
- Pharma, Nutraceutical & Biotech
Doors that offer quick, secure access, environmental control and reliability for life science facilities.
-
-
- Support Resources
- Parts
- Contact Us
- Blog/News
- Why Rytec
- Sales Rep Locator
- Careers
- Dealers
- Architectural Resources









7 Tips for Choosing a Garage Door Remote Control
Choosing a garage door remote control seems simple until the button fails beside a closed garage. Compatibility, security, range, and daily convenience all matter. A remote that looks modern may still operate poorly with an older opener. Small details can create expensive frustration.
Tom Wadsworth, a longtime garage-door industry trainer, offers a useful reminder: “The right remote must match the opener, not merely the brand name.” That advice deserves attention. Homeowners should check the opener’s model number, frequency, programming method, and rolling-code technology. Brand names alone can mislead. I have seen shoppers focus on price, then discover the remote cannot pair with their system. That mistake feels avoidable, but product listings are not always clear.
This guide, “7 Tips for Choosing a Garage Door Remote Control,” examines the practical decisions behind a dependable purchase. It considers signal range, battery access, button design, security features, and compatibility with smart-home systems. It also explains when a universal remote makes sense and when an original replacement is safer. Think about the cold morning commute. Can you press the button through your windshield? Can another family member use it easily? These questions matter more than a glossy package. No remote is perfect. Metal framing, weak batteries, and interference can reduce performance. Even expert advice needs testing at home. A careful choice should improve access without weakening security.
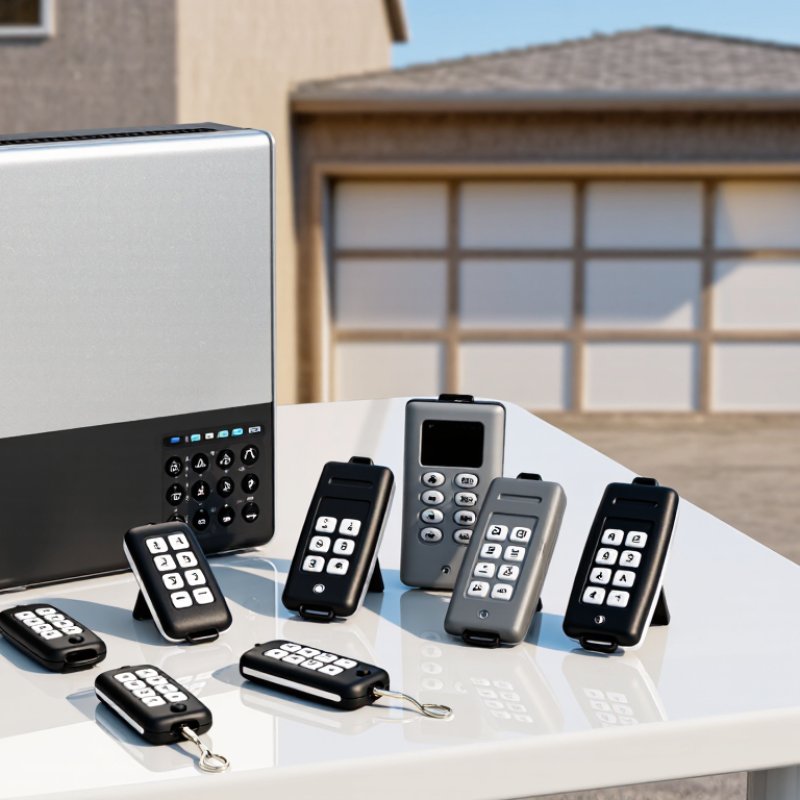
Table of Contents
[Hide]
Understand Your Garage Door Remote Control Requirements
7 Tips for Choosing a Garage Door Remote Control
Understand Your Garage Door Remote Control Requirements
Choosing a remote begins with your garage door opener, not its appearance. Record the opener’s model number, operating frequency, and code system. Some systems use fixed codes, while newer designs use changing codes for better security. Confirm compatibility through the owner’s manual or the receiver label. A remote may look correct yet fail completely. I learned this after buying one based only on button layout.
Consider how you use the door each day. Count the doors and functions you need to control. Check the expected range, especially if walls, vehicles, or trees obstruct the signal. A compact remote suits a keychain, while a visor remote may be easier to reach while driving. Battery type also matters. Keep a spare battery nearby. Small detail, big inconvenience.
Review the programming process before purchasing. Some remotes need a learn button, while others require a specific sequence. Never disable door safety sensors to simplify setup. Test the remote from several safe distances after installation. Look for solid buttons, a protective case, and resistance to heat inside a parked vehicle. A reputable supplier should provide clear compatibility information and a return policy. I still think universal remotes are convenient, but their compatibility claims can be vague. When instructions conflict, consult the opener manual or a qualified technician.
| Tip | Selection Priority | Requirement to Identify | What to Check Before Buying | Useful Specification or Benchmark | Why It Matters |
|---|---|---|---|---|---|
| 1 | Confirm Compatibility First | Match the remote with the garage door opener receiver, not only with the appearance of the existing remote. | Record the opener model, receiver frequency, button layout, programming method, and whether the system uses fixed-code or rolling-code technology. | Compatible frequencies may include 315 MHz, 390 MHz, 433 MHz, or 868 MHz, depending on the region and opener system. | Prevents purchasing a remote that cannot communicate with the opener. |
| 2 | Choose the Right Number of Buttons | Select enough buttons for every garage door, gate, or compatible accessory you need to operate. | Count the required functions, such as door open/close, second door control, exterior gate control, or a separate light function. | One-button remotes suit one door; two- or three-button models can control multiple compatible devices. | Reduces the need to carry multiple remotes and simplifies daily use. |
| 3 | Prioritize Security Technology | Use a remote that supports the opener’s current encryption or code-management system. | Look for rolling-code or code-hopping support when it is required by the opener. Avoid using an old fixed-code remote with a modern security receiver. | Rolling-code systems change the access code after each valid transmission, making simple code recording and replay more difficult. | Helps reduce the risk of unauthorized access to the garage. |
| 4 | Evaluate Operating Range | Choose a remote with adequate range for your driveway, garage position, and vehicle parking location. | Consider walls, metal doors, concrete structures, interference, battery condition, and the receiver’s antenna placement. | Many consumer remotes provide approximately 50–150 feet of practical range under favorable conditions; actual performance varies. | Allows the door to begin opening or closing before the vehicle reaches the garage. |
| 5 | Check Battery Requirements | Use a remote with an accessible battery compartment and a battery type that is easy to replace. | Verify the battery number, polarity, replacement procedure, and whether the remote includes a low-battery indicator. | Coin-cell lithium batteries such as CR2032 are common, but the exact battery must match the remote’s specifications. | Supports reliable operation and reduces maintenance inconvenience. |
| 6 | Consider Vehicle and Mounting Options | Decide whether the remote will be carried as a key-ring device, kept in a vehicle, or mounted near an entry point. | Check the remote’s dimensions, button protection, clip or visor attachment, water resistance, and resistance to accidental presses. | A visor clip is useful for vehicle storage; a key-ring design is more portable. Physical protection is valuable when the remote is frequently handled. | Improves convenience, durability, and protection against unintended door activation. |
| 7 | Verify Programming and Support | Choose a remote that can be programmed using the opener’s available method and supported accessories. | Check whether programming requires access to the opener’s learn button, a control panel, an existing working remote, or professional installation. | Keep the programming instructions and confirm that the opener can store the required number of remote devices. | Makes setup easier and helps avoid compatibility or capacity problems after purchase. |
Related Posts
-
7 Tips for Choosing the Right Garage Door Remote?
-
Unlocking Convenience: How the Garage Door Remote Transformed Home Security Systems in 2023
-
2026 How to Choose the Best Hurricane Garage Doors for Your Home?
-
How to Choose the Best Remote Garage Door Opener for Your Home
-
2026 Best High Speed Doors for Your Business Needs?
-
What Are the Best Slide and Fold Doors from China?